
3D printing for beginners can feel overwhelming at first. The technology, the machines, the materials, there’s a lot to take in. But here’s the good news: getting started is easier than most people think.
This guide breaks down everything a newcomer needs to know. It covers how 3D printing works, which printers suit home use, what equipment to buy, and how to complete that exciting first print. By the end, readers will have a clear path forward, no engineering degree required.
Table of Contents
ToggleKey Takeaways
- 3D printing for beginners starts with understanding the basic loop: design, slice, print, and repeat.
- FDM printers are the best choice for beginners due to their affordability, safety, and ease of use.
- PLA filament is ideal for newcomers because it prints at lower temperatures and produces minimal odor.
- Proper bed leveling is the most critical step—skipping it causes 90% of first-layer failures.
- Start with simple test prints like the “Benchy” boat to learn your printer’s capabilities before tackling complex projects.
- Change only one setting at a time when troubleshooting to identify what actually works.
What Is 3D Printing and How Does It Work?
3D printing creates physical objects from digital designs. A printer reads a 3D model file and builds the object layer by layer. This process is called additive manufacturing because material is added rather than cut away.
The most common method for beginners is Fused Deposition Modeling (FDM). An FDM printer heats plastic filament until it melts. A nozzle then deposits this melted plastic onto a build plate. The nozzle moves according to the digital design, laying down one thin layer at a time. Each layer fuses to the one below it.
A typical 3D print follows this sequence:
- Design or download a 3D model (STL or OBJ file)
- Slice the model using software that converts it into printer instructions
- Print the object as the machine executes those instructions
- Remove and finish the completed print
Layer height affects both print quality and speed. Thinner layers produce smoother surfaces but take longer. Most beginners start with 0.2mm layers, which balance quality and time well.
3D printing for beginners becomes intuitive once they understand this basic loop: design, slice, print, repeat.
Types of 3D Printers for Home Use
Two main printer types dominate the consumer market: FDM and resin printers. Each has distinct advantages.
FDM Printers
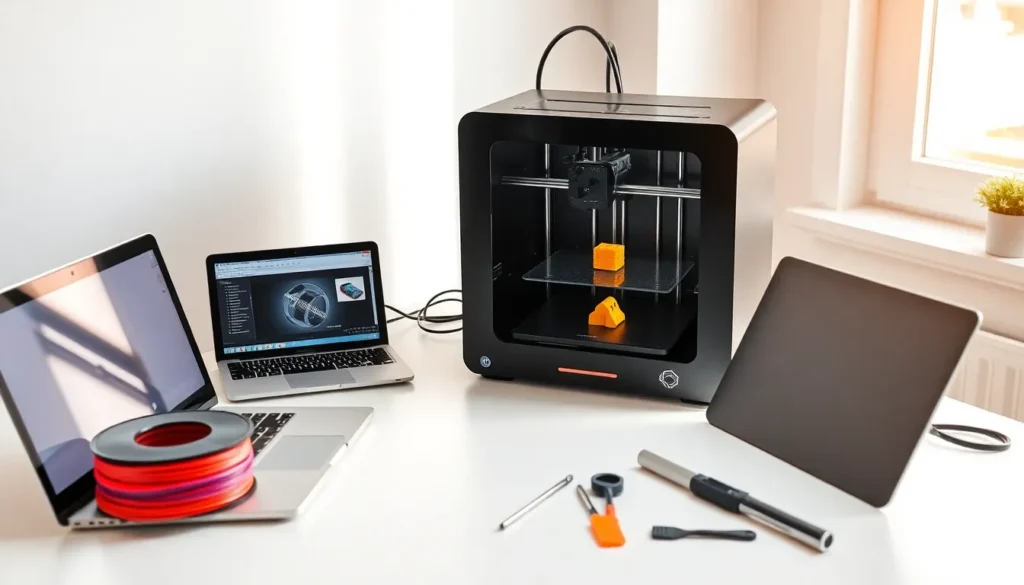
FDM printers use plastic filament and suit most beginners perfectly. They’re affordable, safe, and produce functional parts. Popular entry-level options include the Creality Ender 3 series and Bambu Lab A1 Mini.
Pros of FDM:
- Lower upfront cost ($200-$500 for quality machines)
- Cheaper materials
- Minimal post-processing
- Larger build volumes
Cons of FDM:
- Visible layer lines on prints
- Less detail on small objects
Resin Printers (SLA/MSLA)
Resin printers use liquid photopolymer cured by UV light. They excel at fine details and smooth surfaces. Miniature painters and jewelry designers often prefer them.
Pros of resin:
- Exceptional detail and smooth finishes
- Better for small, intricate objects
Cons of resin:
- Requires post-processing (washing and curing)
- Resin produces fumes and needs ventilation
- Messier workflow
- Higher material costs
For 3D printing beginners, FDM printers make the most sense. They’re forgiving, educational, and produce useful objects right away. Resin can wait until someone wants specific capabilities.
Essential Equipment and Materials You Need
Beyond the printer itself, beginners need several items to start 3D printing successfully.
Filament
PLA filament is the go-to material for beginners. It prints at lower temperatures, doesn’t warp easily, and produces minimal odor. A 1kg spool costs $15-$25 and lasts through many projects.
Other common filaments include:
- PETG: Stronger than PLA, slightly harder to print
- ABS: Durable but requires ventilation and an enclosed printer
- TPU: Flexible material for phone cases and gaskets
Stick with PLA for the first few months. Master one material before experimenting.
Tools and Accessories
These items make 3D printing smoother:
- Scraper or spatula: Removes prints from the build plate
- Flush cutters: Trims support material cleanly
- Digital calipers: Measures prints for accuracy
- Isopropyl alcohol: Cleans the build plate for better adhesion
- Sandpaper (various grits): Smooths finished prints
Software
3D printing for beginners requires two software types:
- Slicer software: Cura, PrusaSlicer, or Bambu Studio convert 3D models into printable files
- Design software (optional): Tinkercad for simple projects, Fusion 360 for advanced work
Most beginners download ready-made designs from Thingiverse, Printables, or MyMiniFactory before learning to design their own.
Your First 3D Print: Step-by-Step Process
Here’s how to complete that first print from start to finish.
Step 1: Set Up the Printer
Assemble the printer following the manufacturer’s instructions. Level the bed, this step matters more than anything else. An uneven bed causes failed prints. Most printers include a leveling procedure using a piece of paper to gauge nozzle height.
Step 2: Download a Test Model
Start with something simple. The classic “Benchy” boat tests multiple printer capabilities in one small print. Download it from Thingiverse or Printables.
Step 3: Slice the Model
Open slicer software and import the model. Select the printer profile and material (PLA). Use default settings for the first print, they exist for a reason. Export the G-code file to an SD card or send it directly to the printer.
Step 4: Prepare and Print
Clean the build plate with isopropyl alcohol. Load filament into the printer. Start the print and watch the first layer closely. If it sticks well and looks consistent, the print will likely succeed.
A Benchy takes about 1-2 hours depending on settings.
Step 5: Remove and Inspect
Let the print cool before removal. Examine the results. Compare it to reference images online. Any issues reveal what adjustments to make next time.
3D printing for beginners improves quickly through this cycle of printing, evaluating, and adjusting.
Common Beginner Mistakes to Avoid
New 3D printing enthusiasts make predictable errors. Avoid these to save time and filament.
Skipping bed leveling: An unlevel bed causes 90% of first-layer failures. Level before every print until it becomes second nature.
Printing too fast: Speed creates problems. Slow down to 50mm/s or less while learning. Quality beats speed early on.
Ignoring ambient temperature: Drafts and cold rooms cause warping and layer adhesion issues. Keep the printer in a stable environment.
Using old or wet filament: PLA absorbs moisture from air. Store filament in sealed bags with desiccant. Wet filament pops, strings, and produces weak prints.
Changing too many settings at once: When troubleshooting, change one variable at a time. Otherwise, identifying what worked becomes impossible.
Skipping supports: Overhangs greater than 45 degrees need support structures. The slicer can generate these automatically.
Expecting perfection immediately: 3D printing has a learning curve. First prints rarely look amazing. That’s normal. Each print teaches something new.
These mistakes aren’t failures, they’re part of learning. Every experienced maker went through this phase.